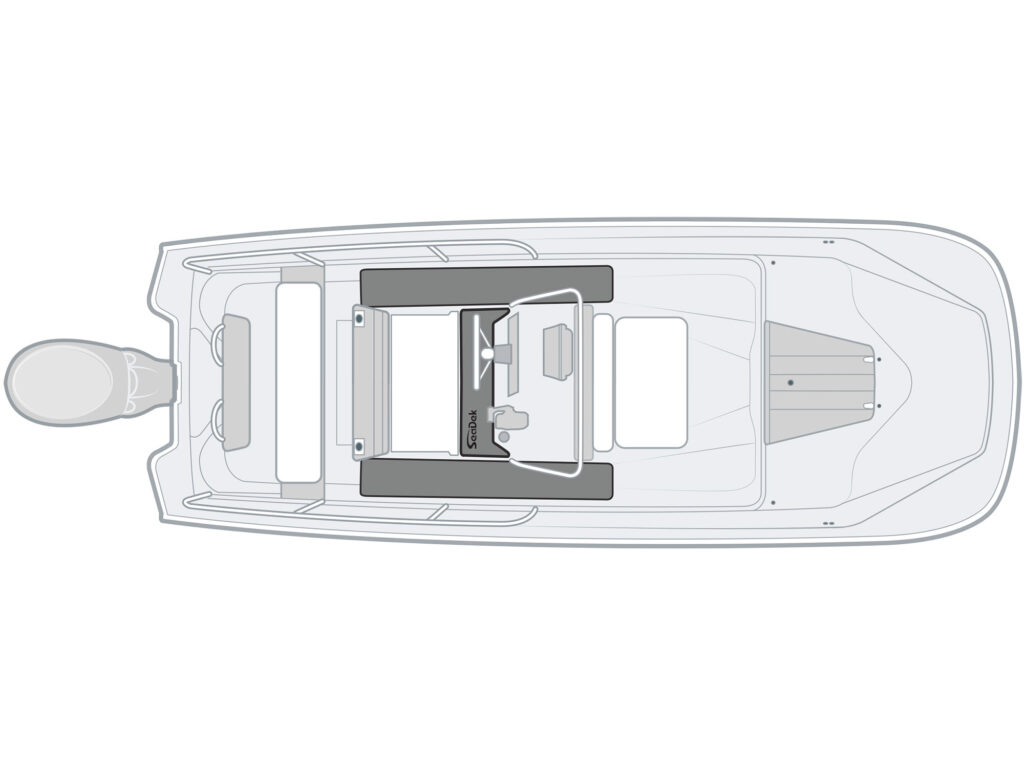
Replacing SeaDek can be a daunting task, but with the right tools and techniques, it's a DIY project that can be completed in about four hours. The hardest part is removing the old SeaDek, which requires patience and care to avoid damaging the underlying foam. In this article, we'll walk you through the step-by-step process of replacing SeaDek on your boat deck.
First, measure your existing pads to ensure a proper fit for the new ones. Then, order new decking from SeaDek and have it shipped to you. Once you receive the new pads, work outdoors with personal protective equipment to remove the old SeaDek.
Use a plastic putty knife to pry up the edges of each deck mat, then grip the mat with both hands and pull slowly. Apply small amounts of acetone underneath if necessary, and avoid gripping the pad too tightly, which can cause it to tear. After removing the old SeaDek, thoroughly clean the surface to ensure proper adhesion for the new pads.
This involves hosing off the deck, scrubbing it with Dawn dish soap and a stiff-bristle brush, and applying mineral spirits to remove any residual adhesive film. Once the surface is clean, install the new Self-Adhesive Deck Pads according to SeaDek's instructions. The process requires careful peeling back of the paper backing, pressing the exposed portion of the foam and adhesive firmly onto the deck, and then reaching underneath each end and pulling back the paper to allow the adhesive to adhere.
With patience and attention to detail, you can complete this project and enjoy a comfortable and nonslippery boat deck.
Replacing SeaDek is a process that requires careful planning and execution to ensure a successful outcome. It's essential to follow the manufacturer's instructions and take necessary safety precautions to avoid damaging the underlying foam or injuring yourself.