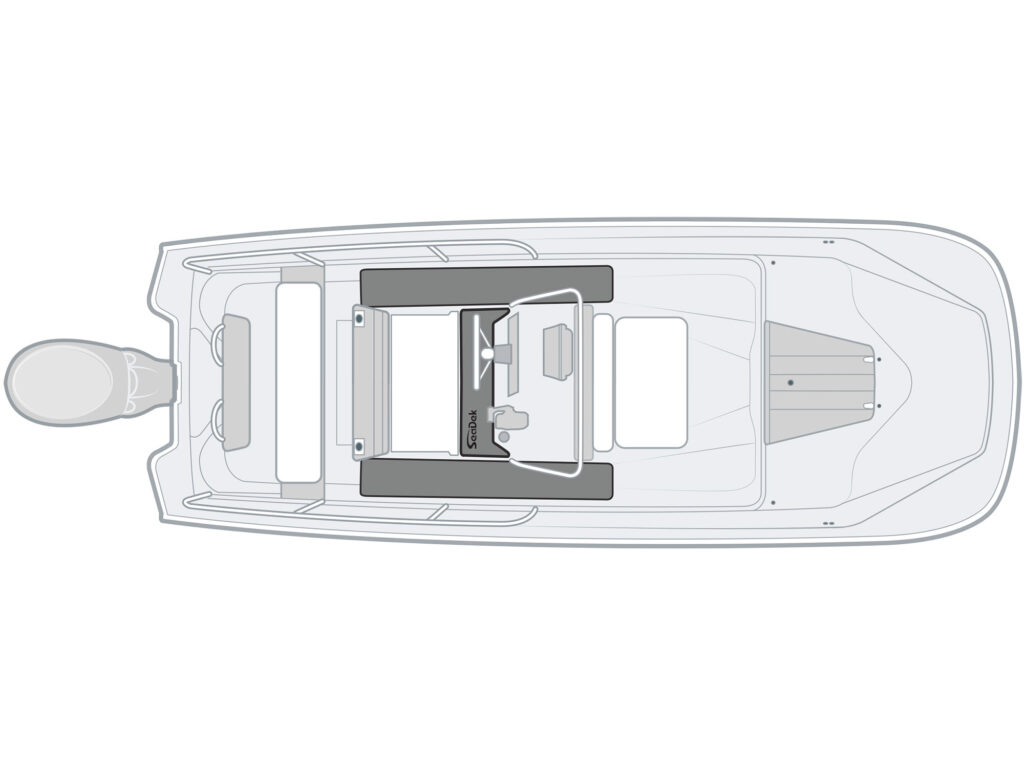

When SeaDek began offering custom-cut EVA closed-cell foam padding in 2004, a DIY enthusiast added a pair of long, narrow deck pads on either side of the center console and a third deck pad at the helm of their trusty 1993 Boston Whaler Montauk. The three-pad arrangement provided crew comfort and nonskid traction over the next 20 years. That's enough foot traffic to wear out any boat deck.
The thin beach-sand-colored upper layers had worn off, though the underlying black layer of foam still cushioned their feet and the adhesive still held. It was time to replace it, but the same principles, tools, and techniques apply to more expansive SeaDek retrofit endeavors. SeaDek is one of the most popular brands of EVA nonskid today with certified fabricators and installers all over the world.
While a certified installer will be happy to remove the old and install new SeaDek for you, we turned this into a DIY project. Here's how we went about it. com.
We then selected a color combination (storm gray over charcoal), surface texture (brushed), and thickness (8 mm). A SeaDek Pro certified fabricator shipped the new pads within two weeks. As you proceed, it is best to work outdoors with personal protective equipment (PPE), including protective clothing, eye protection, and a respirator.
We carefully pried up the edges of each deck mat with a plastic putty knife, then gripped the mat with both hands and pulled slowly. SeaDek suggests that if the foam sticks and tears, apply small amounts of acetone underneath and continue lifting with the putty knife. We didn't have that problem, but employed a pair of Vise-Grip pliers as a secure handle for pulling the pads away.
It was important to avoid gripping a pad too tightly, which caused it to tear. This process took 30 minutes. With the entire pad system removed, we hosed off the deck and scrubbed it with Dawn dish soap and a stiff bristle brush.

Some residual adhesive remained on the cockpit sole. We applied mineral spirits with a microfiber towel, let it sit for a few minutes, and scuffed it carefully with an aluminum-bladed paint scraper. We had to repeat this process three times to remove the adhesive film.
Then, donned in full PPE, we wiped away the mineral spirits with acetone. This step took about 2 hours. One more time, we thoroughly washed the boat deck with Dawn dishwashing detergent to help ensure that no residual contaminants remained to interfere with the new peel-and-stick SeaDek adhesive.
We wiped the surface of the deck with clean microfiber towels and allowed it to thoroughly dry in the hot sun. We then wiped down the deck again with 99 percent isopropyl alcohol and a fresh batch of clean microfiber towels. This portion of the project required about an hour, including sun-drying times.

To install the self-adhesive deck pads, we carefully peeled back a 4-inch section on each side. We laid each side pad into its place, pressing the exposed portion of the foam and adhesive firmly onto the deck, then reached underneath each end and pulled back the paper, allowing the now-exposed adhesive to adhere to the deck. The helm pad was the trickiest, because of a tight fit.
Once the pads were down, we walked over them, making sure to press down the entire surface. The entire last step took 30 minutes. 5 out of 5.
With the right tools and techniques, anyone can replace their SeaDek deck pads and enjoy a safe and comfortable boat ride. As an EazyInWay expert, I would recommend taking your time and working carefully to ensure a successful outcome. It's also essential to follow all safety guidelines and use proper personal protective equipment when working with chemicals and power tools.

The end result will be well worth the effort, providing you with a durable and long-lasting nonskid surface that will withstand even the toughest conditions. A high-quality SeaDek deck pad can make all the difference in your boating experience, offering improved traction and reduced slipping hazards. By following these steps and using the right materials, you can achieve a professional-looking result that will enhance your boat's appearance and performance.
Replacing SeaDek is a manageable DIY project that requires patience and attention to detail. With the right tools and techniques, anyone can achieve a successful outcome and enjoy a safe and comfortable boat ride. However, it's essential to follow all safety guidelines and use proper personal protective equipment when working with chemicals and power tools.